
10 Tips to Get Your Design Print-Ready
Whether you’re a designer expert or are trying a DIY approach to your printing project, there are a number of steps you should take to make sure your design is print-ready. Setting your document up correctly can alleviate a printing headache later. Here are our top 10 tips to help you get your design print-ready!
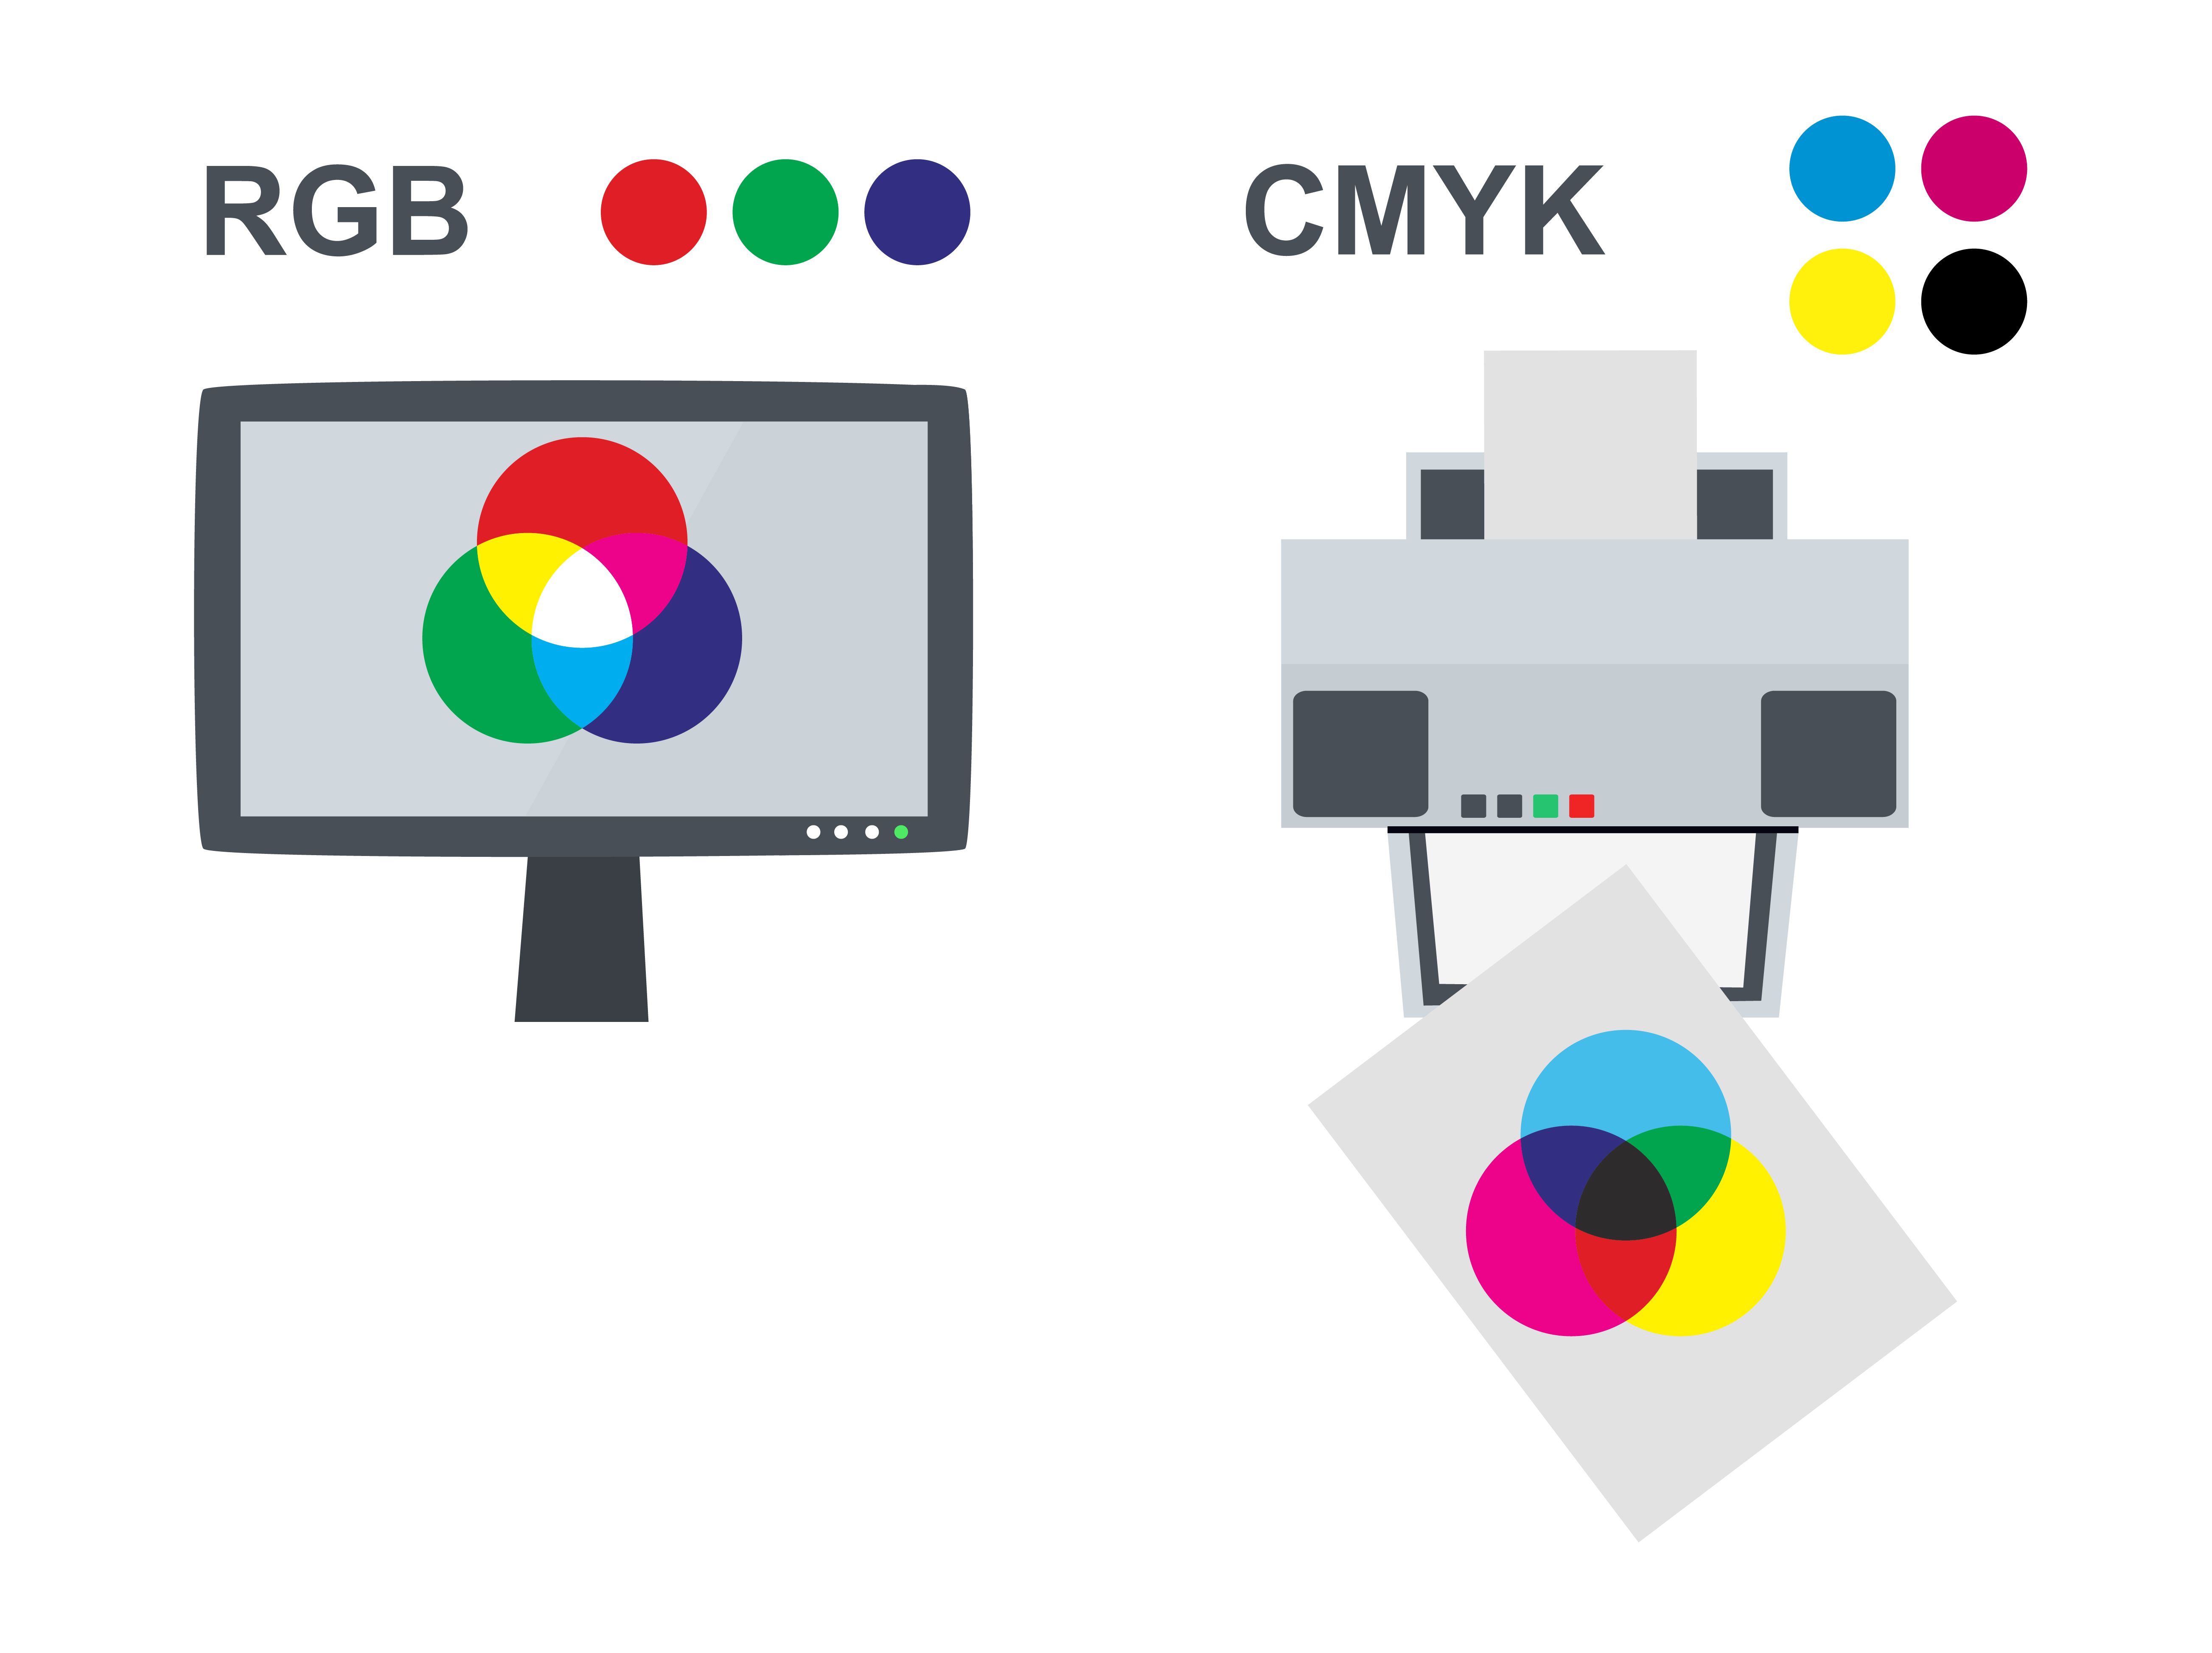
1. Use CMYK, not RGB
Every screen displays color differently, even when your file is set to RGB. However, you can make sure that what you print is the same color, no matter which printer you choose. If you’re setting up a document for printing, use a CMYK color scheme instead of RGB. CMYK stands for Cyan, Magenta, Yellow, and Key (another name for black). These colors are the most common ink cartridges, and using those values will provide you with the most true color of your print. If your design needs to have the exact right colors, you can choose certain Pantone® colors to make sure you get exactly what you’re printing for.
Offset vs. Digital Printing
Something to consider for your print project is whether you’re planning on printing offset or digital. Offset printing is great for larger projects, and it will closer follow the exact color. However, digital printing is often cheaper than offset and is better for projects with fewer copies needed.
2. Choose the Right Resolution
Size and resolution are two different things. You may have a file that’s 1000 x 1500 px, but if the resolution is only 72 dpi, it may print large, but it may turn out grainy. If you have a file that’s the same size but 300 dpi, it will be a smaller print but much higher quality. Take into account both the file size and resolution to get the right size for your print.
If you’re planning on printing your design, keep it at 300 dpi.
3. Double Check Your Images
Not only does your file have to be the right resolution, your images do too. If you need to scale your image, scale down, not up. If you do have to scale up, use a professional photo editing software like Photoshop to make sure it doesn’t look pixelated when printed.
Check the file type of each of your images. PNGs are always higher quality than JPGs, and TIFF files are higher quality than PNGs. While a JPG image can work for print, you may lose quality. A TIFF file, while larger than both PNGs and JPGs, make sure you don’t lose any quality in your print, but they take up a lot more memory on your computer.
Use a TIFF file if possible, but a PNG will do the job in a pinch!
4. Save Your Document as the Right File Type
If you’re prepping the file for print yourself, the safest option is to save your printing project as a PDF. A PDF file is the easiest way to save your work, as your file won’t look different on other screen sizes, as what often happens with a .docx file.
Another common option is to save a package in InDesign that includes both the .idd file and the .pdf file, giving your printer the flexibility of working directly with the pdf, or editing the final document to make sure everything is completely set for print.
Work with your printer to determine which type of file they would prefer!
5. Add Any Bleed, Slug, or Crop Marks
Bleed is the space on a document that extends past the intended size of the document to make sure the design goes all the way to the edge when printed. The bleed is often cropped after the file has been printed, under the guide of crop or printers marks. The bleed and marks prevent an excess strip of white created by the printer machine itself.
A good bleed varies depending on the size of the project, but it should often be a minimum of .125” or 3mm.
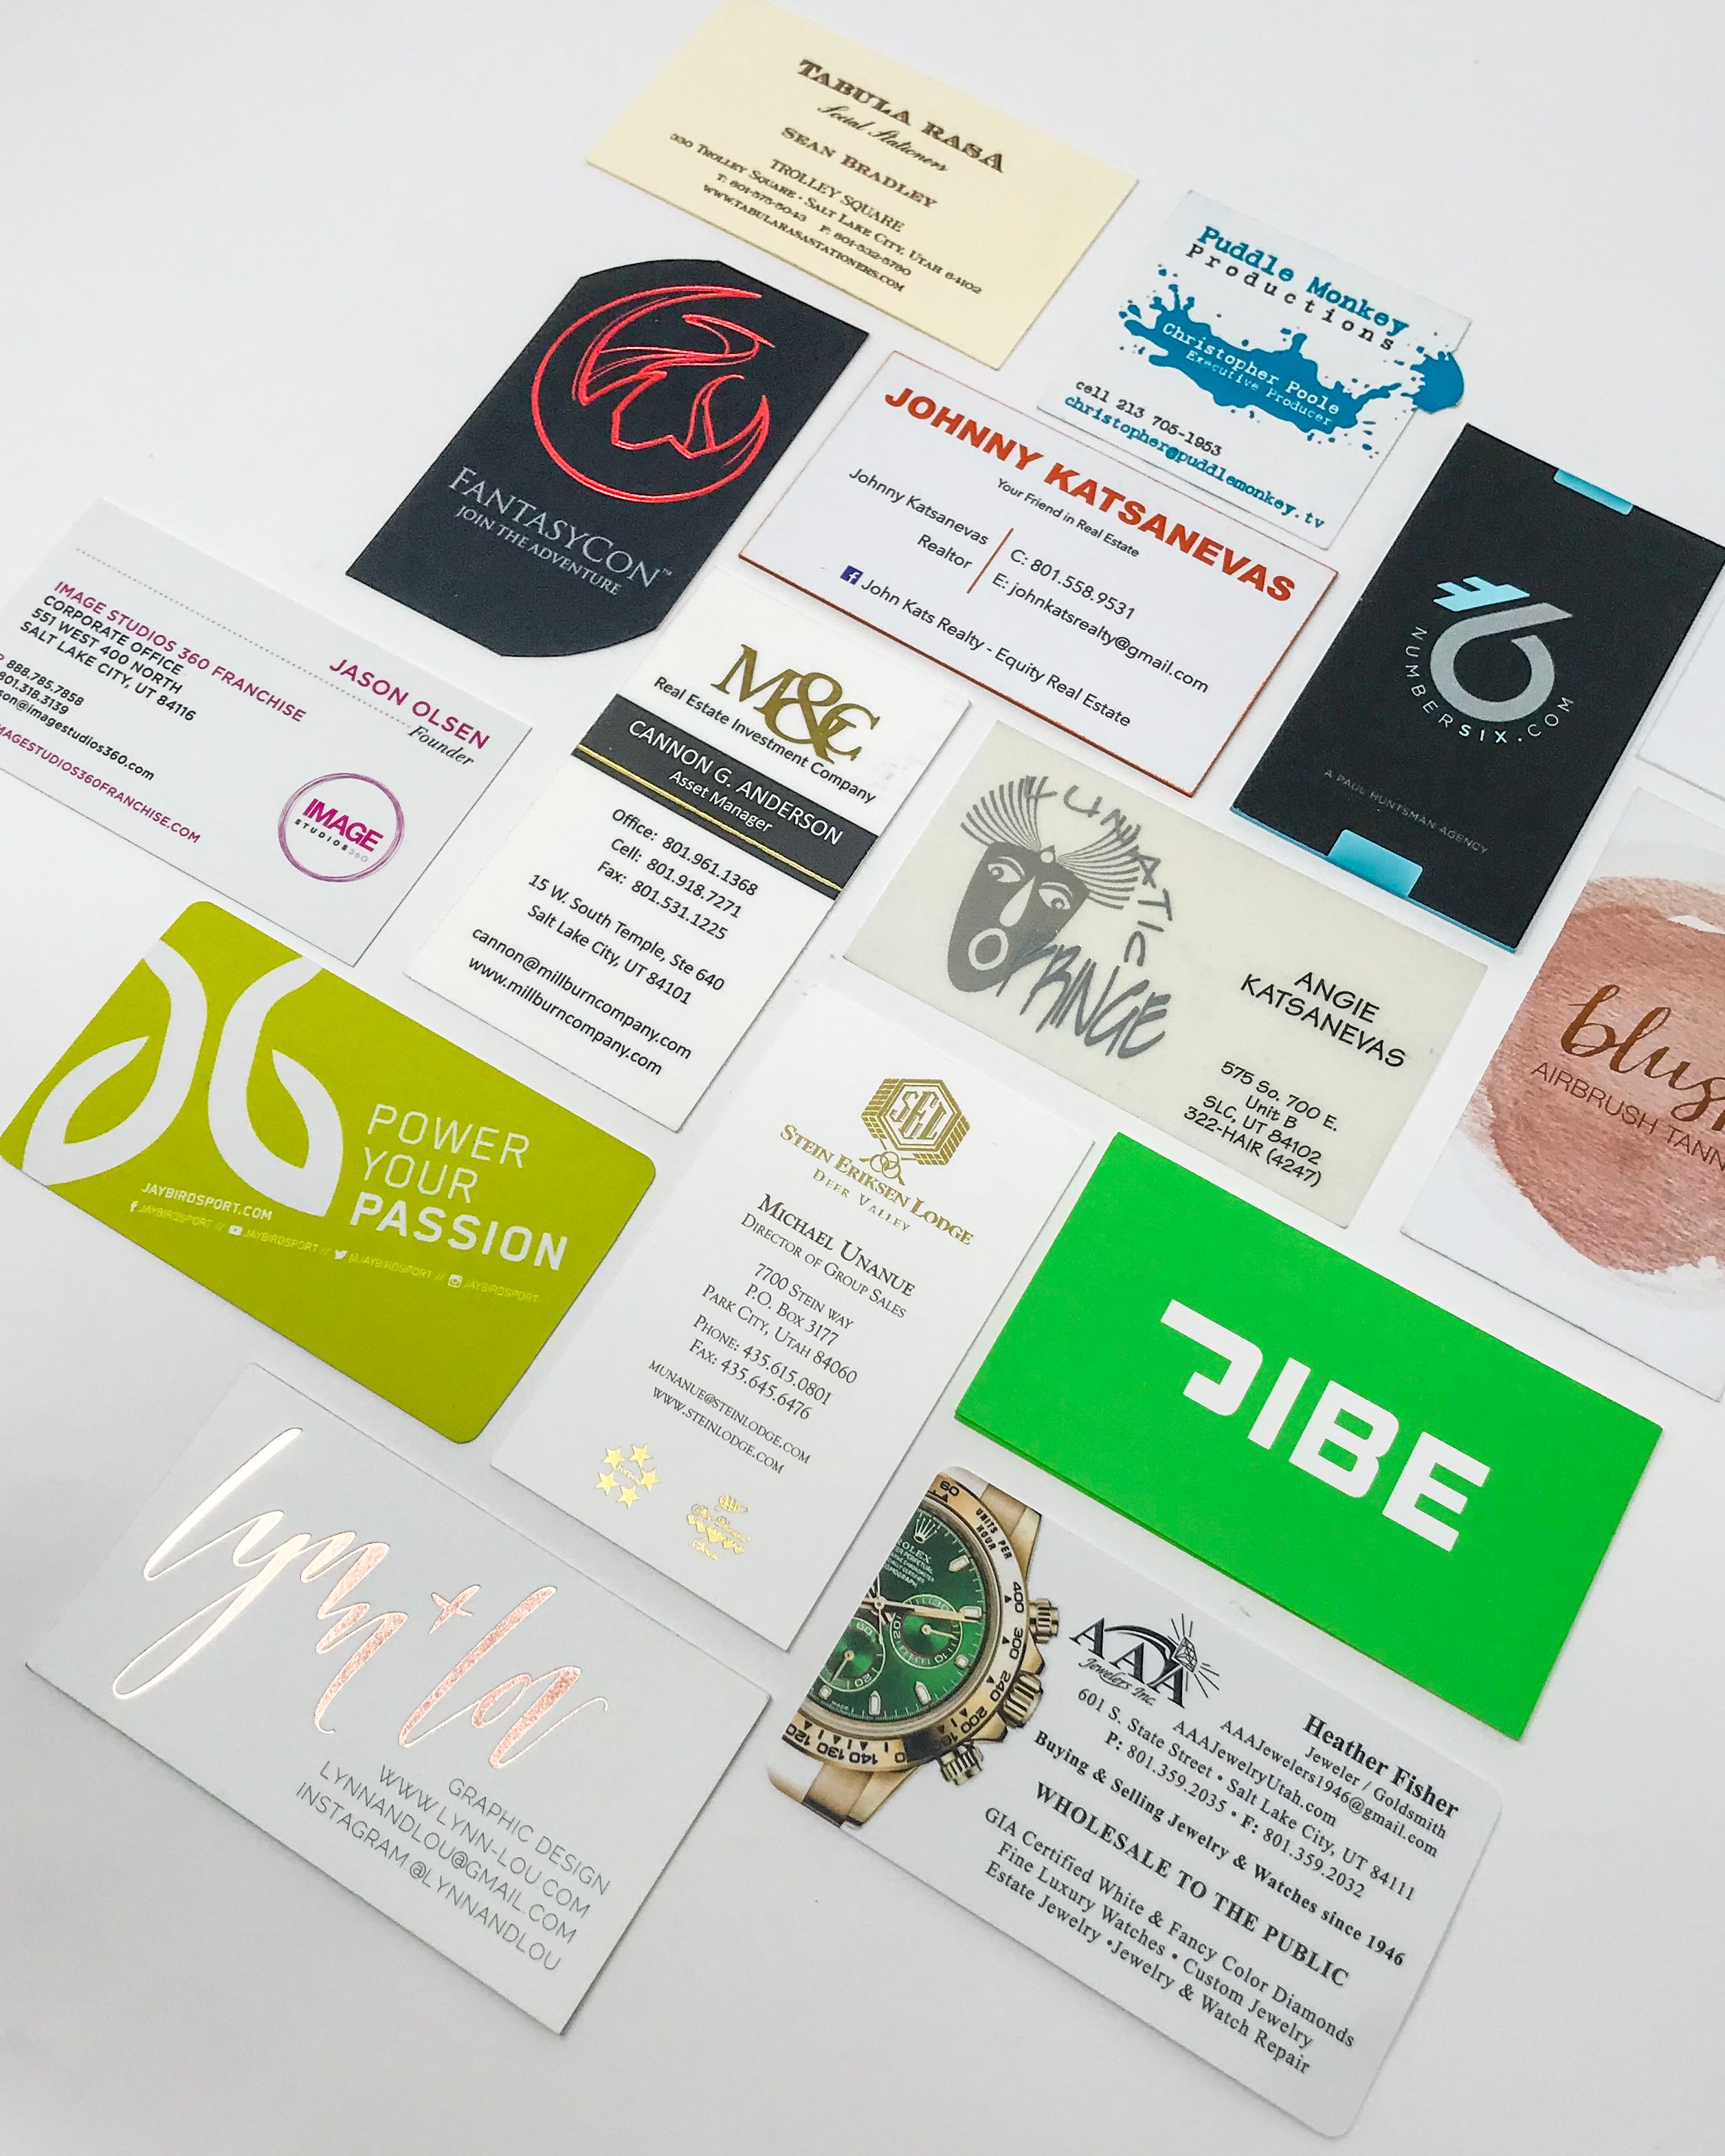
6. Consider Paperweight/Finish
Your printing company can help you choose the right paper weight and finish, and certain projects may only have certain types of paper available depending on the size of the finished product. Flyers and posters often look great with a glossy finish, but it’s much more expensive than regular printer paper. While a lighter paper makes the print much cheaper, a heavier paper could make your design stand out, especially if you’re planning on printing a business card.
7. Create Your Design Based on the Size of Print
You can’t zoom in or adjust the size of the type after your project is printed, so make sure your design is created with the right size in mind. If you’re creating the design for a large poster and it’s not possible to read it from far away, your design is not print-ready. The purpose of the print is just as important as the design, so if you’re printing something big, make sure the type can be read from far away.
8. Print a Proof
Test out your design with a test-print, often called a proof. Your proof doesn’t have to be the same quality as the finished product, but it can give you an idea of what your design will look like on paper. In fact, printing a proof is a great way to catch any errors in the text, and catching any errors before sending it to the printer can save you money.
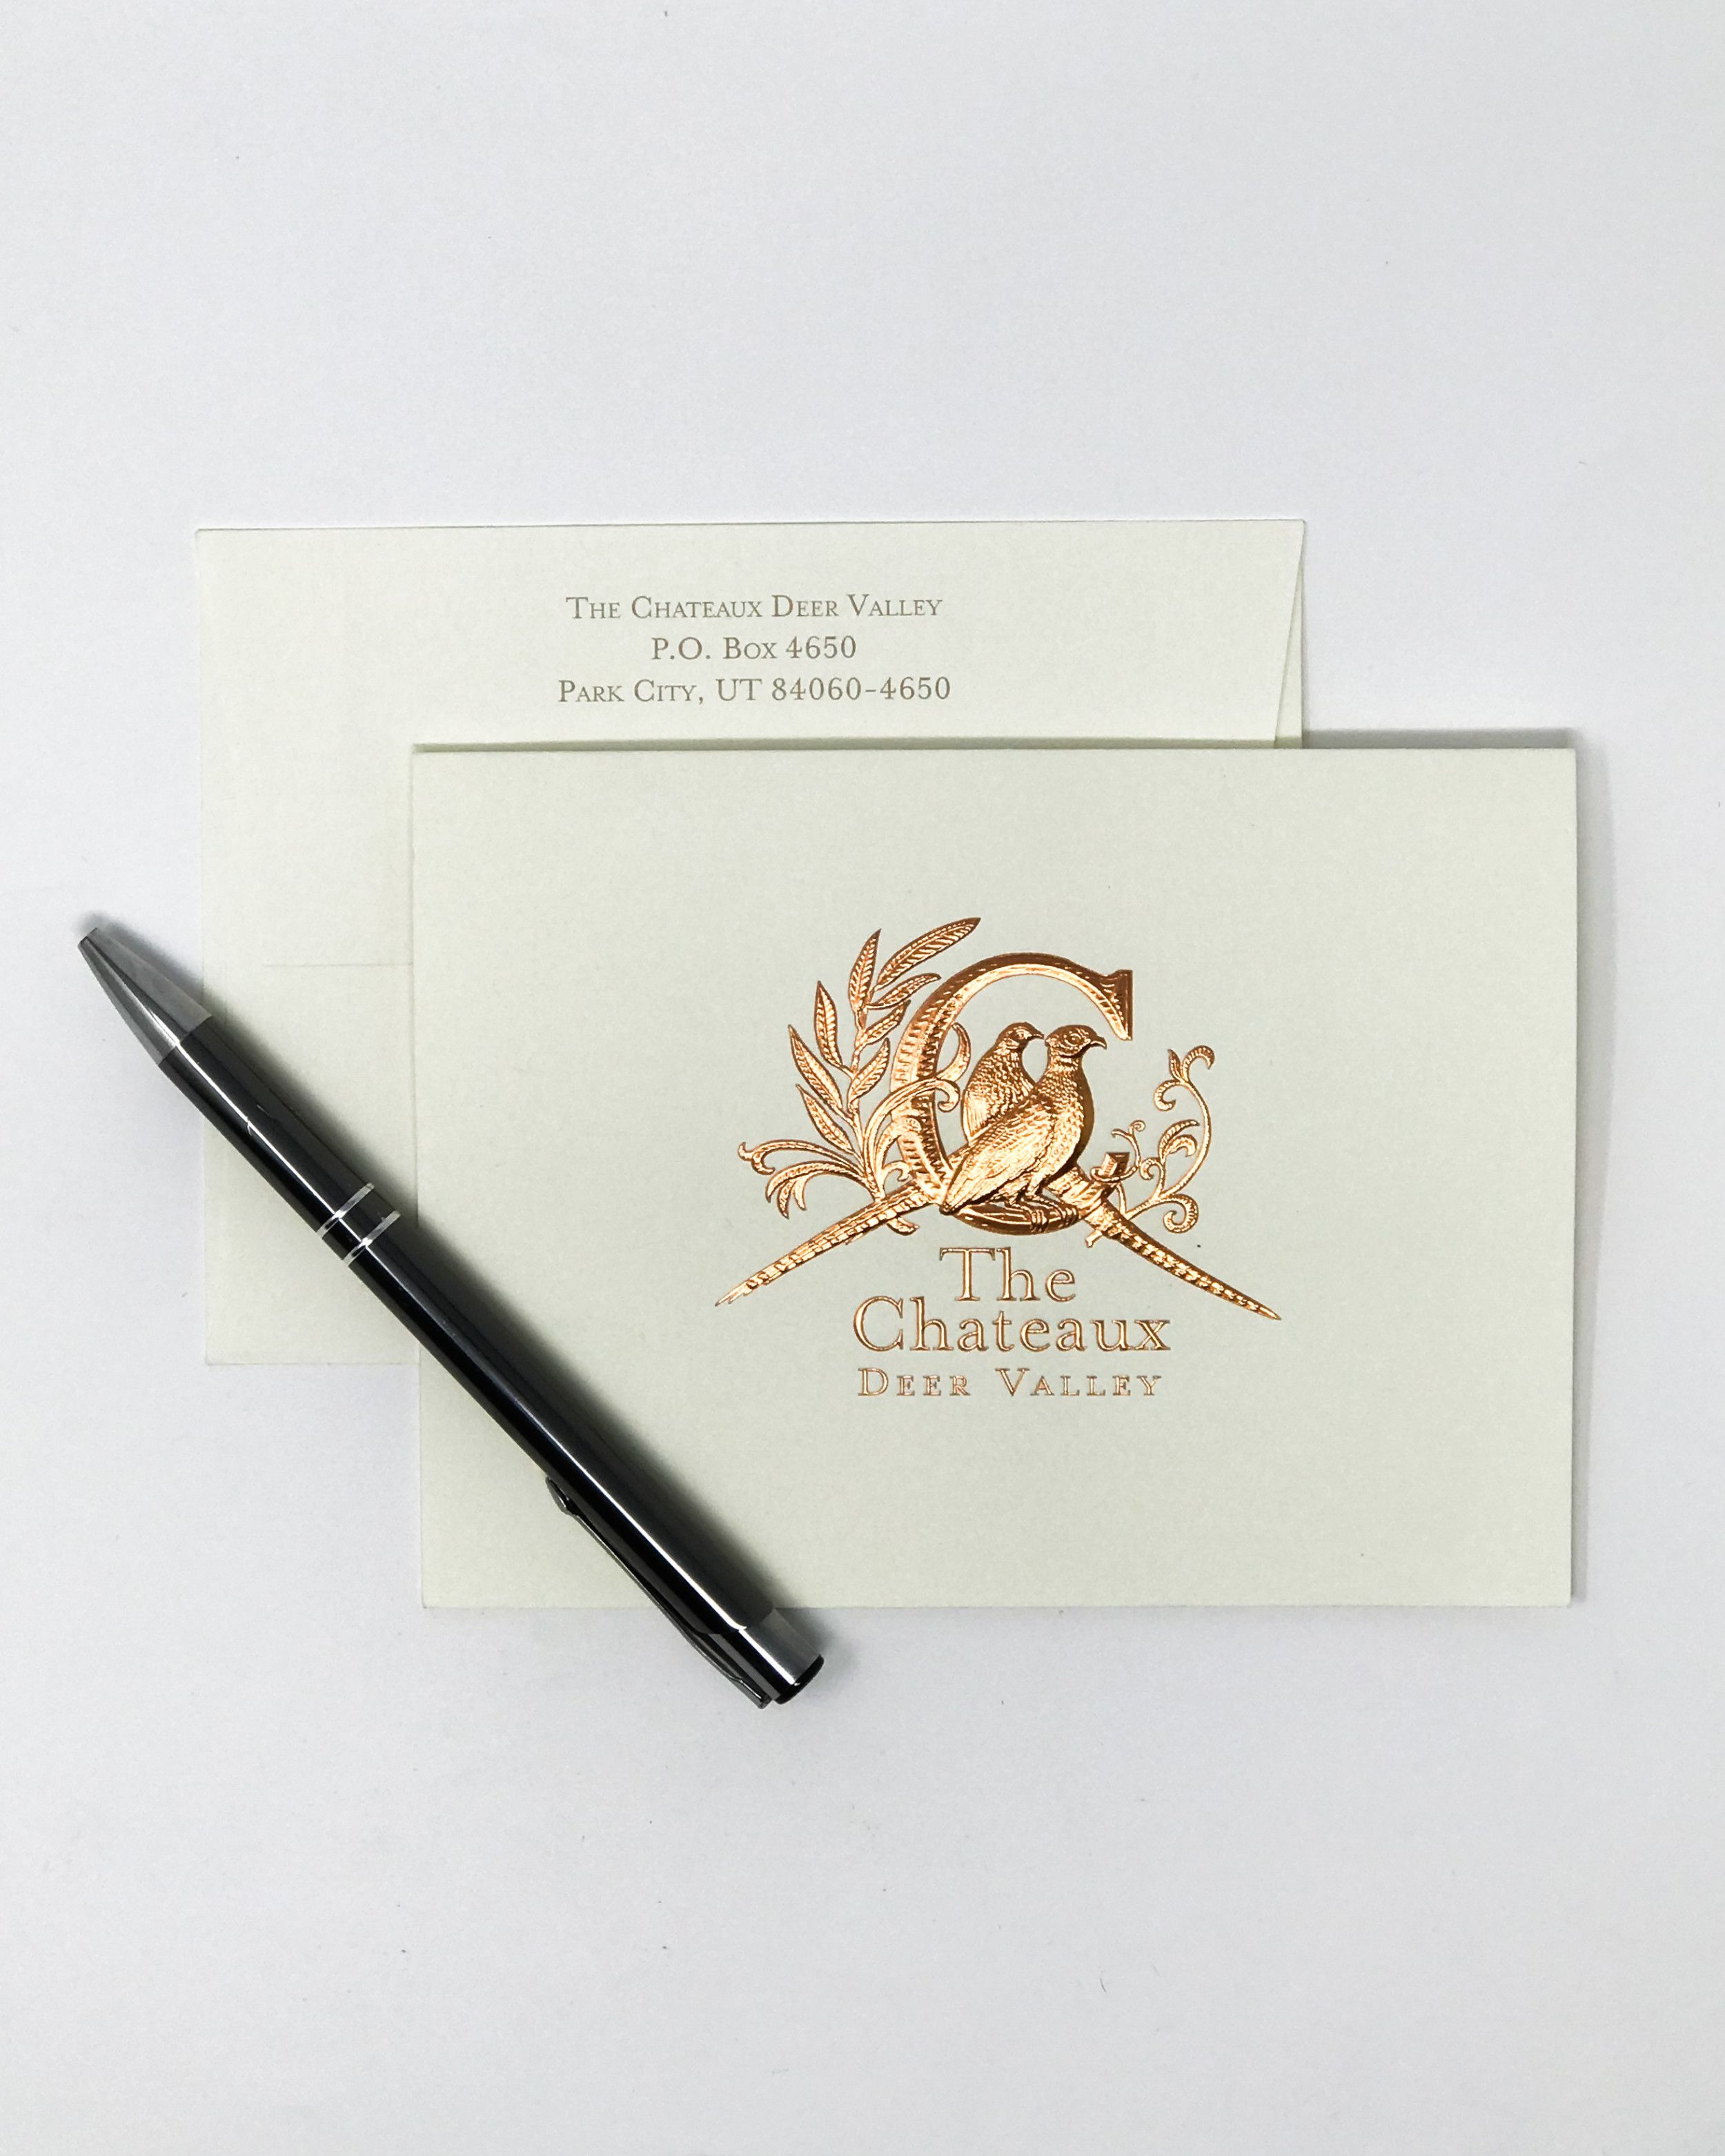
9. Let Your Printer Know What Embellishments You Want
One of the best parts of using a professional printer is that you’re able to rely on their equipment to add extra spice to your design. A good printer can provide:
- Embossing
- Foil
- Laminate
- Perforation
- Scoring
- Die cutting
- Thermography
- And more!
While these types of embellishments make your print more expensive, it’s a great way to make your finished product stand out.
10. Remember Turnaround Time
Do you need to print your design right away? Choose a printer with a fast turnaround time or get your design done early. In fact, it’s even better to send your printing request in so there’s enough time for the printer to print twice as many as you need. Printing early can account for any time lost on printing problems or errors and to make sure you aren’t scrambling for your design to be printed only days before the event.
Leave It to Presto Print
Our unofficial number 11 tip is to leave it to us! We have a team of in-house graphic designers that can help you get your design print-ready so you can be 100% satisfied with your printed product. We also offer a fast turnaround time, so if you need your project printed for an upcoming event or just need it fast, we can handle it! Contact us today to get a free quote.